Acrylic Painting
Materials guide for beginners
List of materials
Acrylic paints
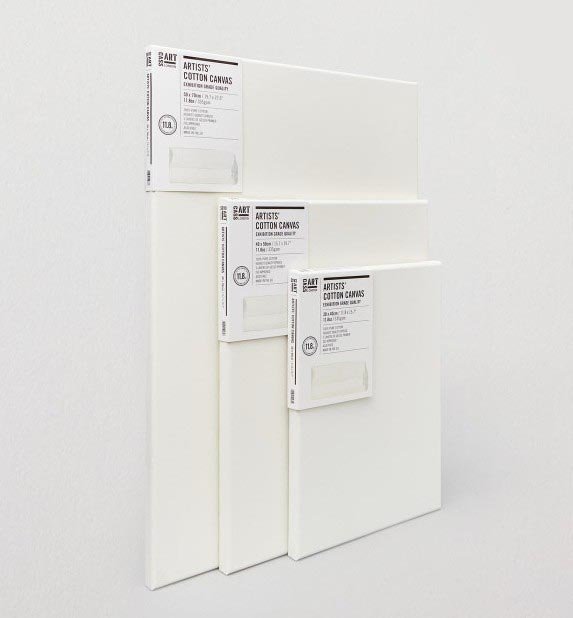
Stretched canvas
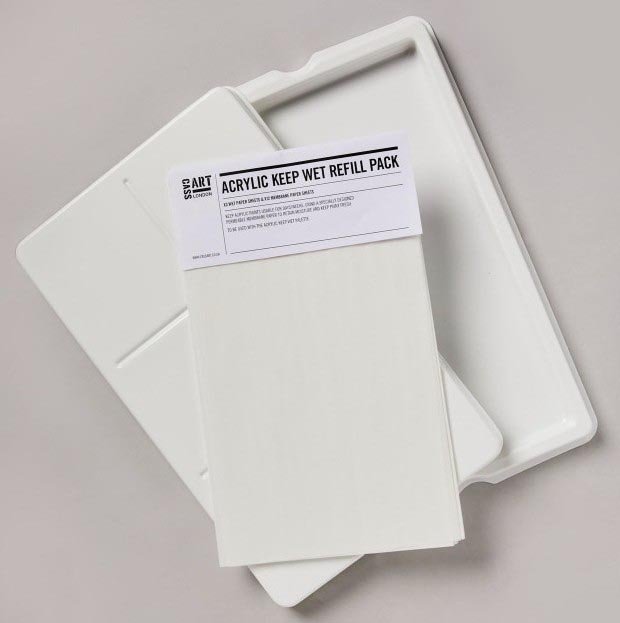
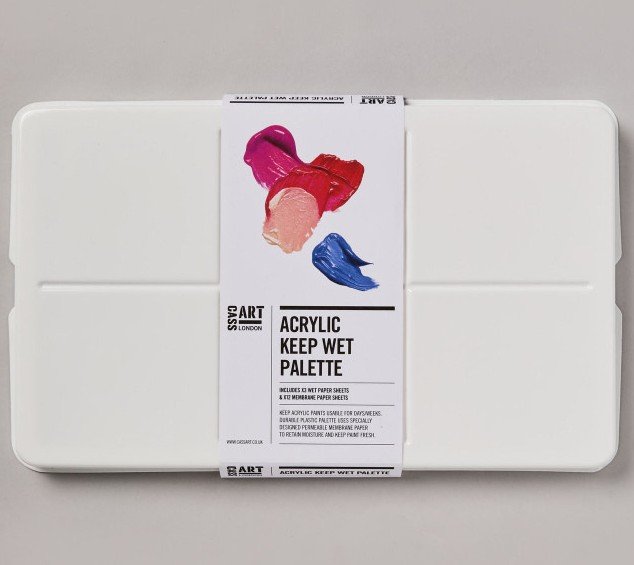
Stay wet palette
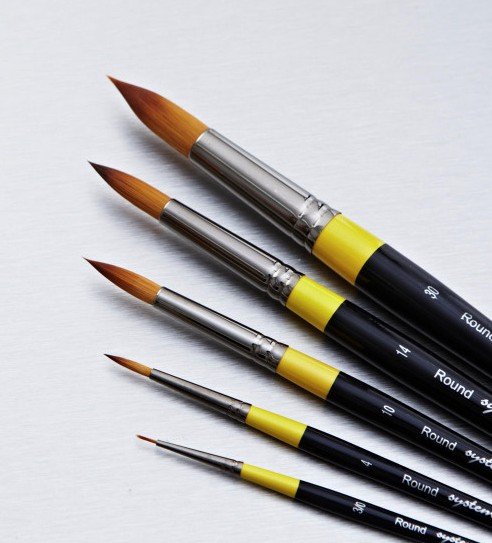
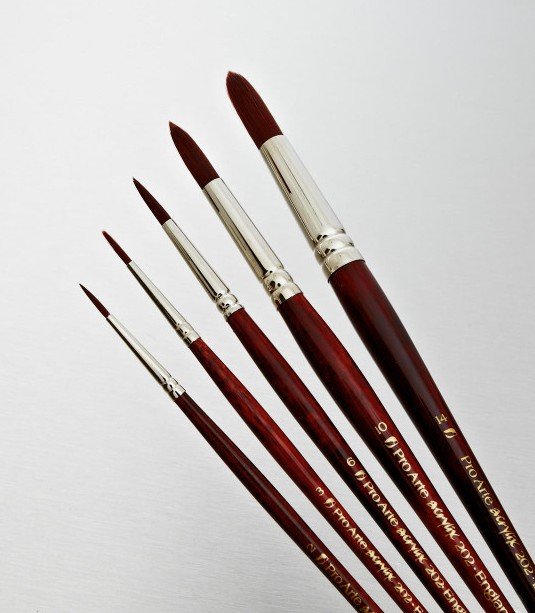
Set of round synthetic brushes (sizes: 12,9,6,3,1)
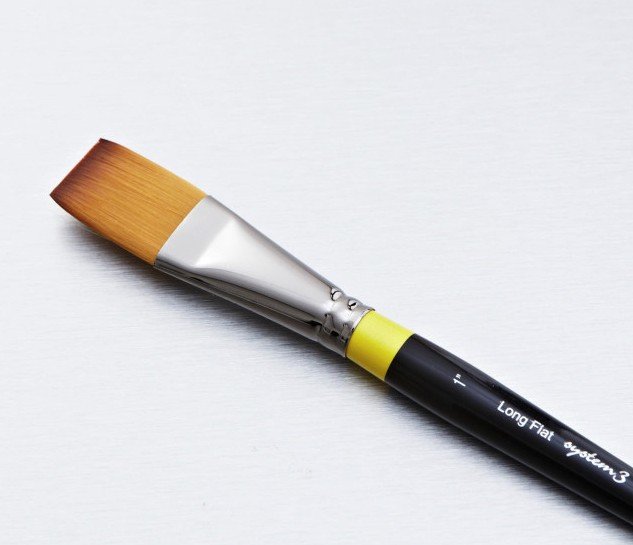
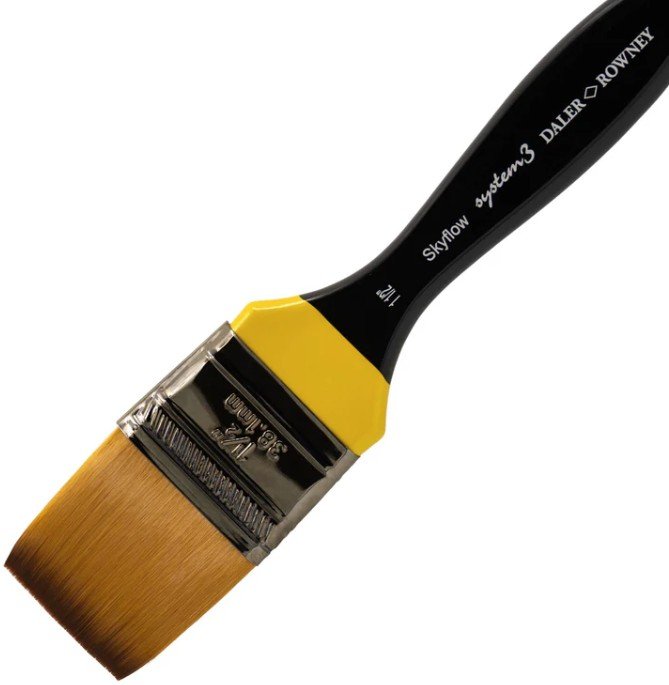
Flat synthetic brushes: 1/2 and 3/4 inch
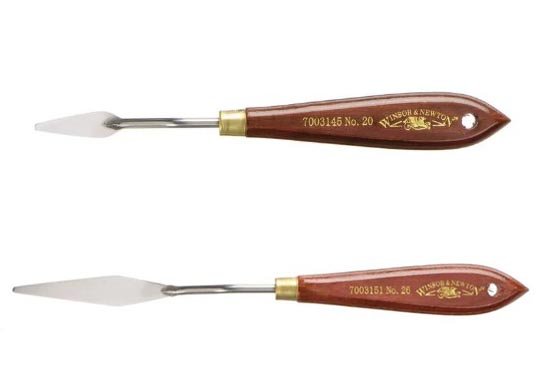
Palette Knife
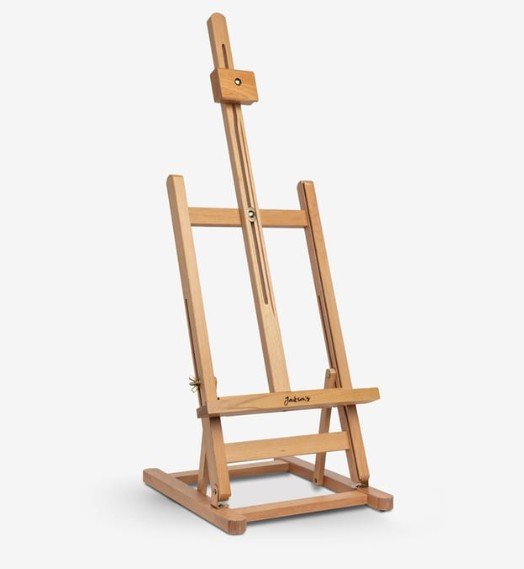
Table easel
Hard pencil
Carbon transfer paper
Large jar for water
Paper towel
Suppliers
CassArt – wide range of great quality art materials.
JacksonArt – wide range of great quality art materials.
Art Discount – art materials at good prices.
eBay
Amazon
The Range – I usually buy canvases and student grade brushes.
Acrylic paints
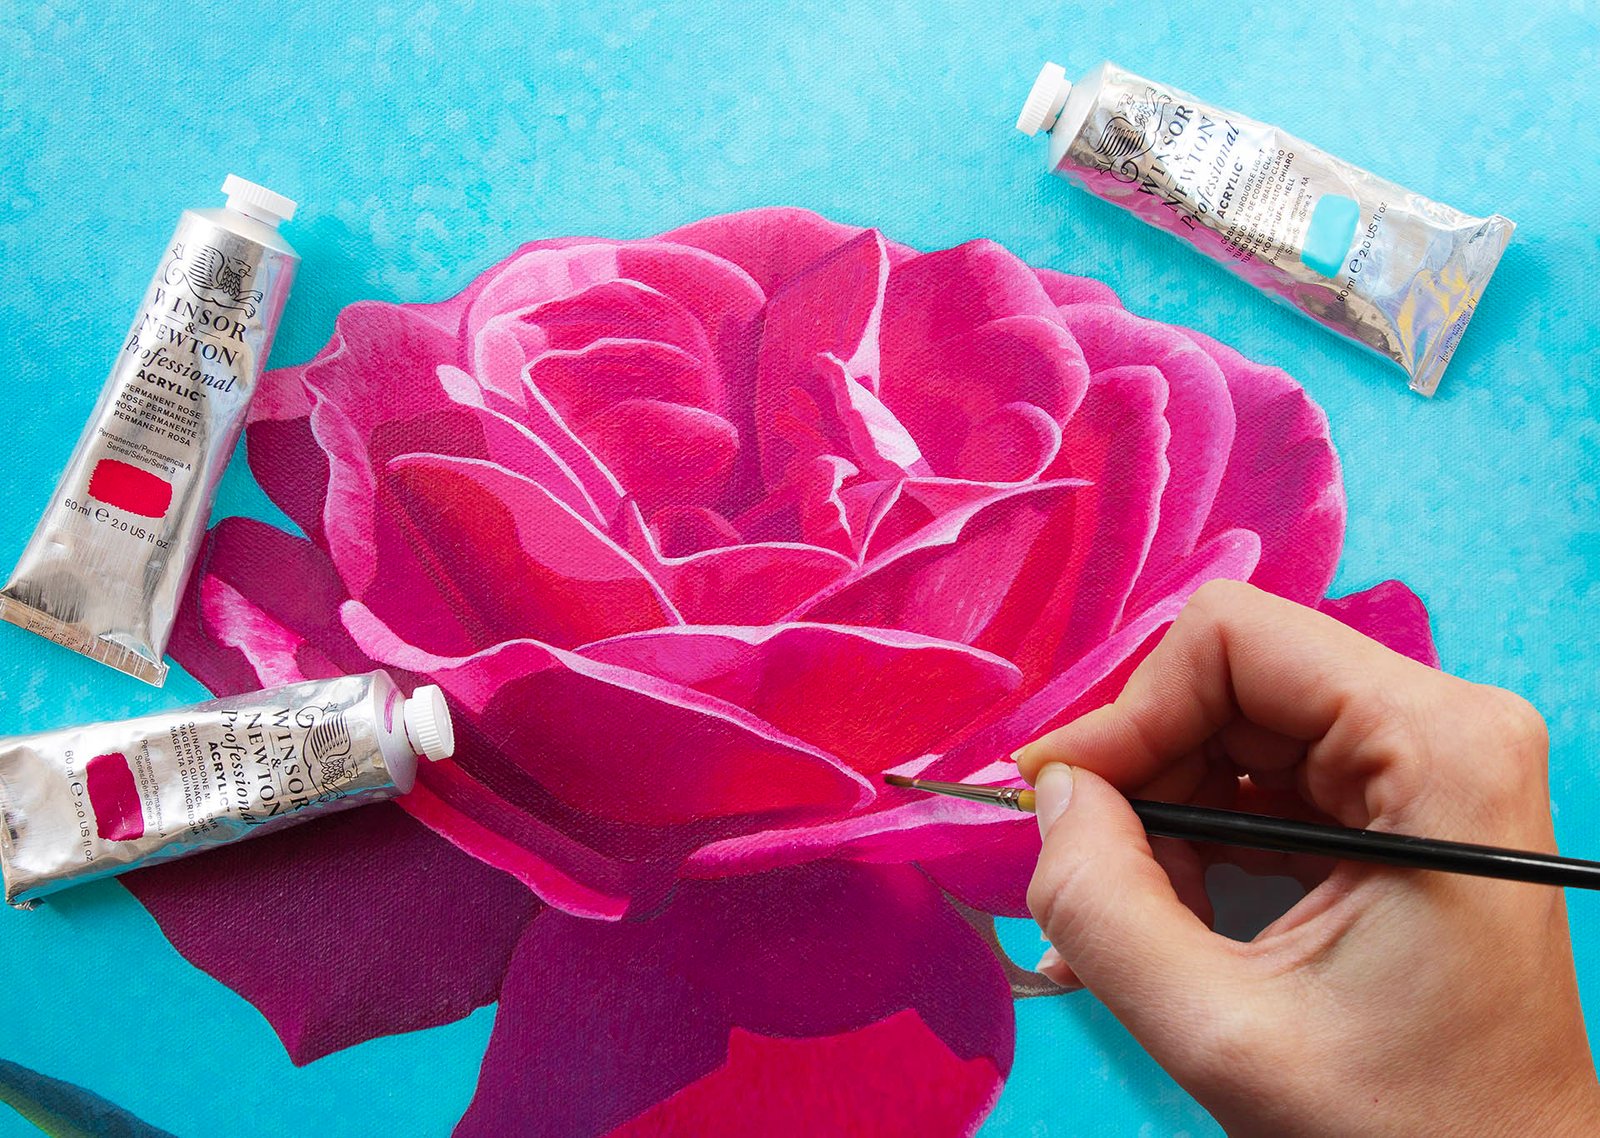
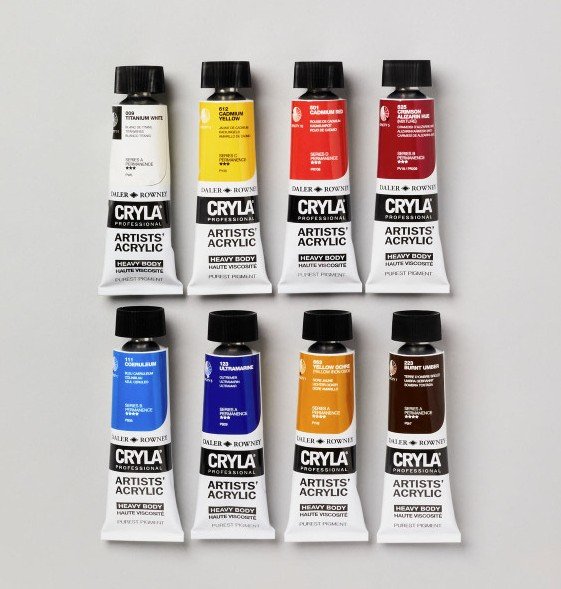
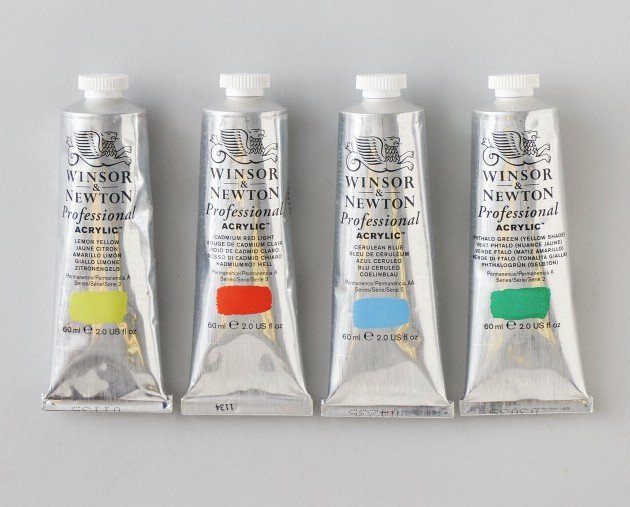
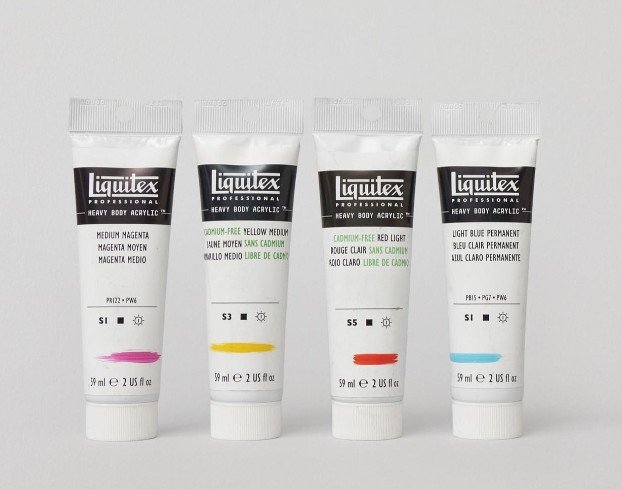
I always recommend to look for best quality paints available. Professional and Artists’ ranges have more pigment, so your colours would look more vibrant. My favourite brands: Cryla Artists’ Acrylic by Daler Rowney, Professional Acrylics by Winsor & Newton, Artist’s Acrylic by Liquitex.
Basic foundational palette:
Titanium White – highly opaque, for strong highlights.
Cadmium Lemon – a bright yellow.
Yellow Ochre (or Yellow Oxide) – Great for warmth, natural greens, and skin tones.
Cadmium Red – a warm red.
Quinacridone Magenta – for rich magentas and true purples.
Ultramarine Blue – a deep, cool blue; great for shadows.
Cobalt Blue – a mid-range blue, ideal for skies and subtle greens.
Cobalt Teal – for greens and skies.
Burnt Sienna – a warm, reddish-brown great for skin tones and underpainting.
Burnt Umber – a primary earth tone, for deep shadows.
Phthalo Green – strong green used for leaf tones and deep darks.
Acrylic Mediums
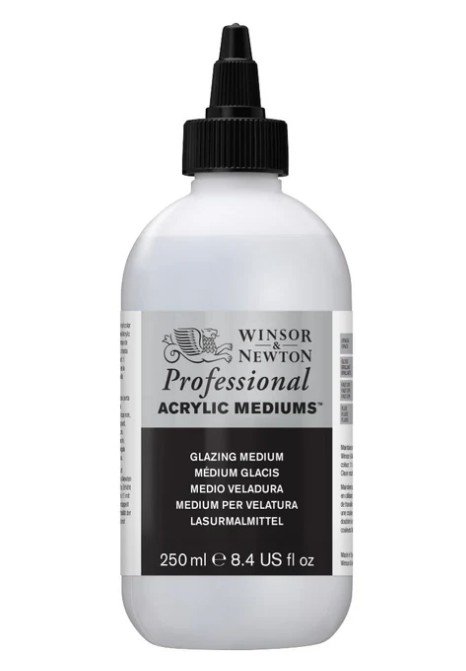
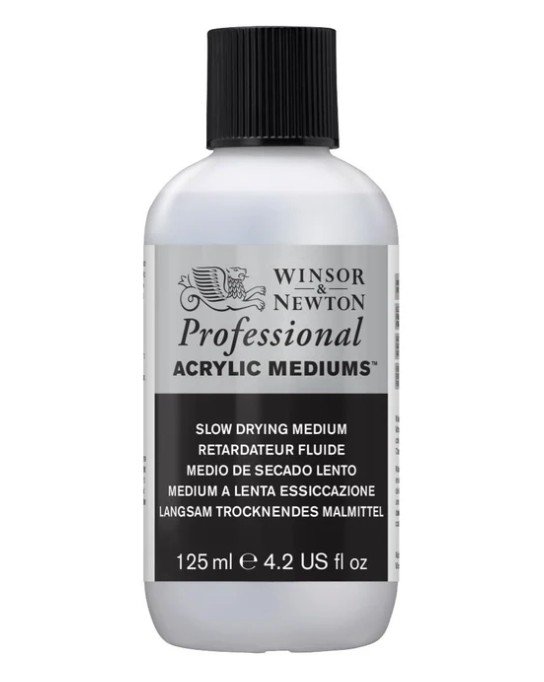
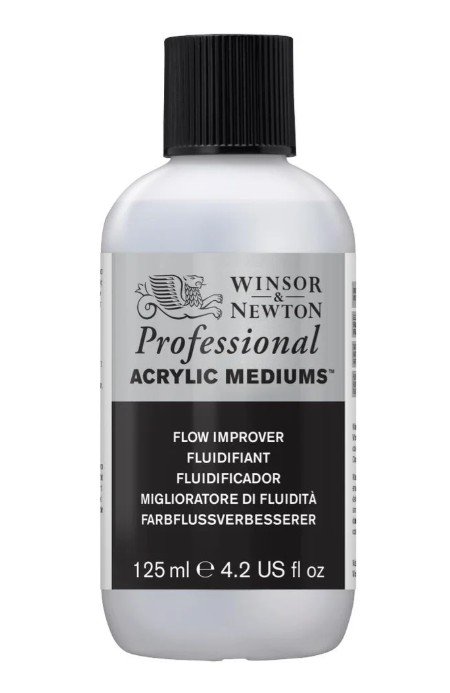
I love to use Winsor and Newton Professional Mediums for acrylics.
Slow Drying Medium – slows drying to give more working time of colour for extended blending and manipulation.
Glazing medium – it is the best medium for glazing, giving maximum transparency and brilliant, flowing colour with good levelling. I learnt that you could use it as a separation layer between the painted canvas and varnish.
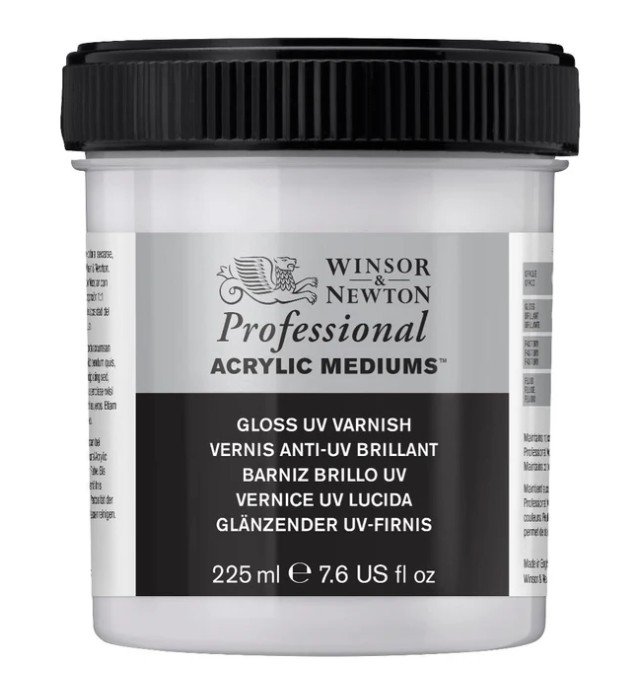
UV Varnish – shields the painting from dust, dirt, and UV damage while also providing a choice of finishes like gloss, satin, or matte. I like a very glossy surface, so I choose a Gloss UV Varnish. The colours look more intense after applying gloss varnish.
Flow Improver – increases the flow of colour allowing the application of areas of flat, even colour without changing colour strength. I have not used this medium in my painting yet.
Choosing a surface
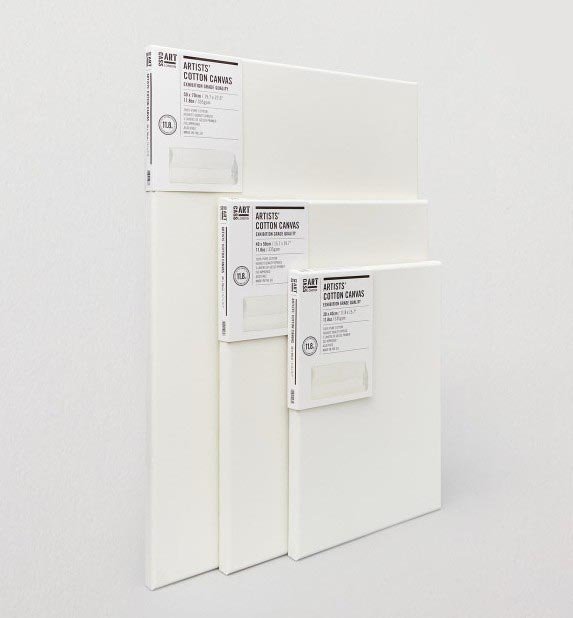
Canvas is the most popular choice, available as stretched canvas or canvas panels.
Cotton canvas – affordable and suitable for beginners.
Linen canvas – smoother and more durable, preferred by experienced artists.
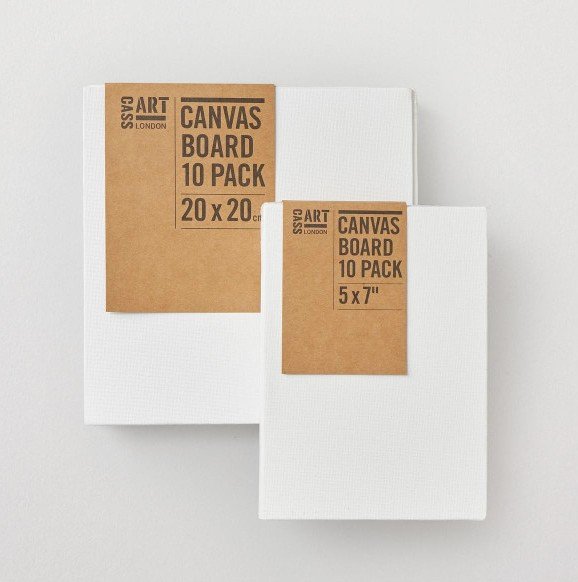
Canvas panels – lightweight, stackable, and a good option for portability and ease of storage.
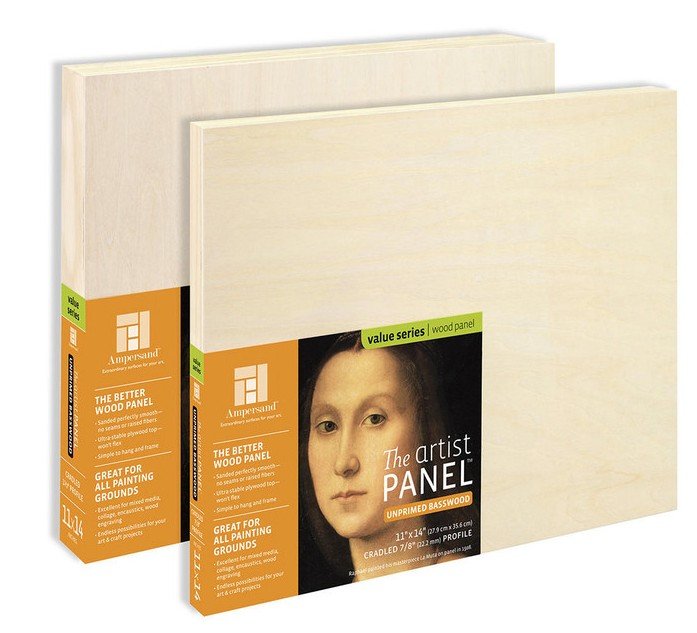
Wood offers a smooth surface and can be a sturdy alternative to canvas.
MDF (Medium-Density Fiberboard) – a manufactured wood material that is solid and inexpensive, but may need priming and can be heavy at larger sizes.
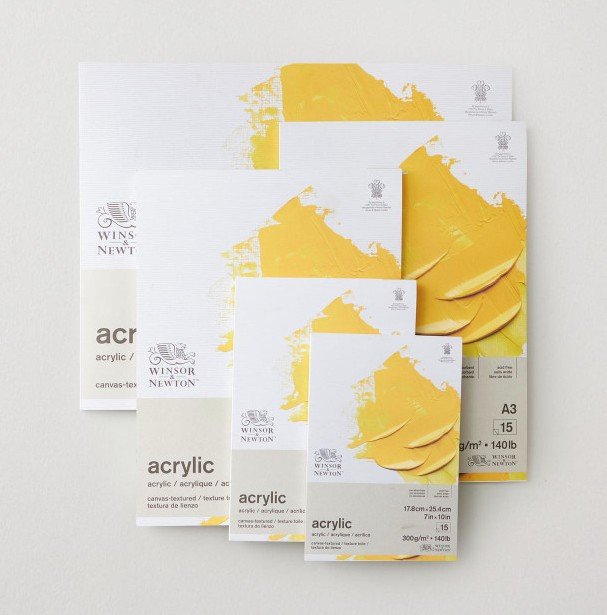
Acrylic paper – specially designed for acrylics, providing a great alternative to canvas for certain applications.
I usually use cotton or linen canvases.
Brushes and palette knives
Synthetic brushes are a better choice for acrylic painting as the bristles are less likely to become damaged over time. However, the strokes placed by a natural bristle can appear to have more texture than that of a synthetic bristle due to their natural split-ends.
When painting with acrylic, you can also use palette knives. I am using mine mainly for mixing large quantities of paint on my palette.
With knives you can achieve additional effects such as straight lines and edges, multi-coloured strokes, highlighting and building up textures. They also enable you to cover a large area of canvas, quickly.
For beginners I would recommend to buy a set of synthetic round brushes: 12, 9, 6, 3, 1; and two large flat brushes 1/2 and 3/4 inch. The size of the flat brush for varnishing could be even 1 inch and wider if you work on large canvases.
ArtStudio by The Range offers basic student grade synthetic brushes. For beginners I would also recommend System3 brushes by Daler Rowney.
If you are looking for a better quality brushes you could buy Acrylix brushes set by ProArte. If you are ready to invest into your brushes, you could look for professional quality synthetic brushes by Winsor & Newton.
My favourite palette knives are from Winsor & Newton.
Setting Up Your Painting Space
You do not need a dedicated studio to paint with acrylics. A kitchen table, a tray on your lap, or a corner of a spare room all work perfectly. The most important things are good light and a setup that lets you leave your work in progress without it being disturbed.
Lay out an old tablecloth or some newspaper to protect your surface. Position your palette to the side of your dominant hand (right-handed painters: palette on the right). Keep your water jars close but not so close that you risk knocking them onto your painting. Have a roll of kitchen paper within reach.
Natural daylight is best for seeing colour accurately. If you are painting in the evening, a daylight bulb in a desk lamp makes a real difference. Avoid harsh overhead lighting that creates shadows on your canvas.
Preparing canvas
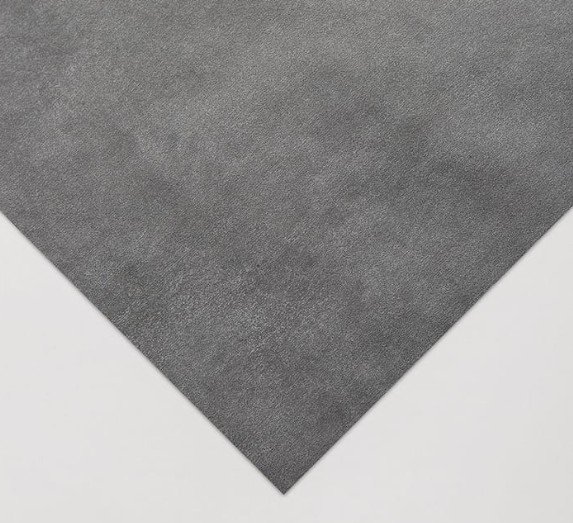
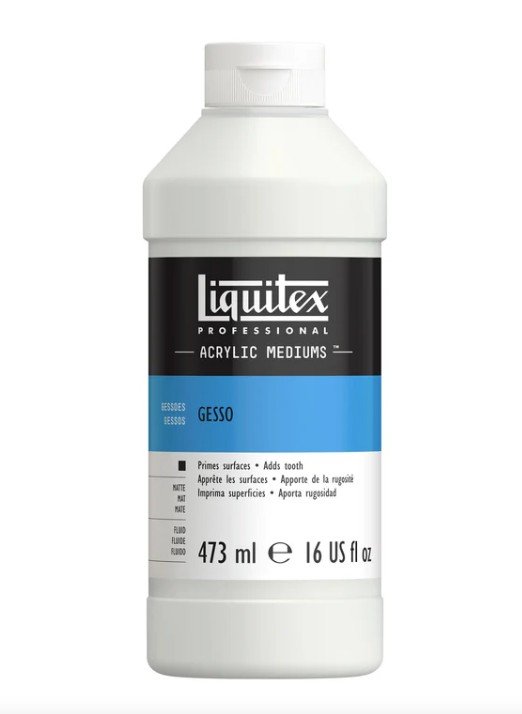
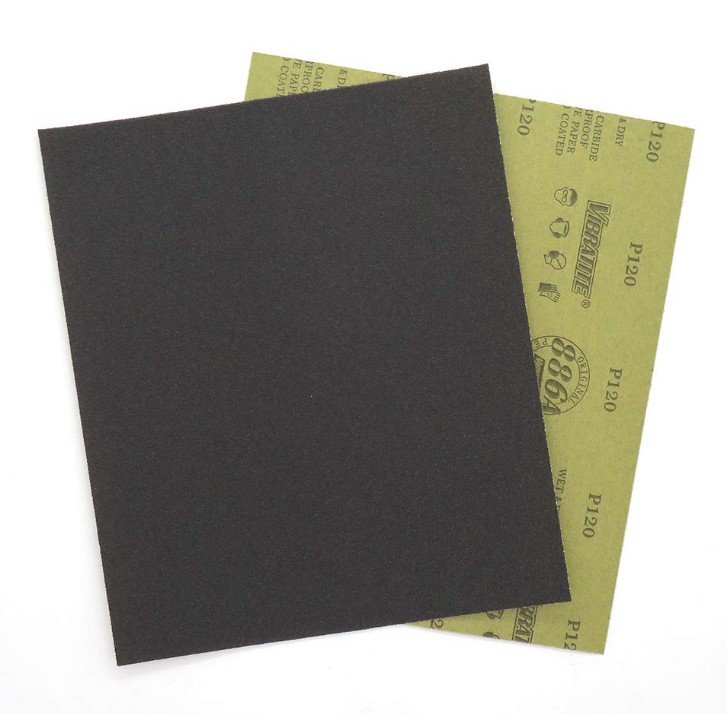
If you buy primed canvas from a shop it is a good idea to paint it with gesso using a flat brush. One or two layers would make the surface more even. You could also sand gently the dried gesso surface to make it smooth. The smoother the surface of you canvas the easier it is to paint.
Sketch preparation
You could use a pencil to sketch from the photograph.
If you are not confident at drawing you could use a carbon paper with the outlines’ printout. Place the carbon paper over your canvas, then place a printout over the carbon paper. Use masking tape to secure the position of your printout. Trace the contours with a pencil or pen. Try to trace a few lines and check if you can see the lines on your canvas. If you do not see the lines just apply more pressure when tracing.
When your sketch is ready remove the printout and carbon paper. You are ready to start painting!
Wet Palette
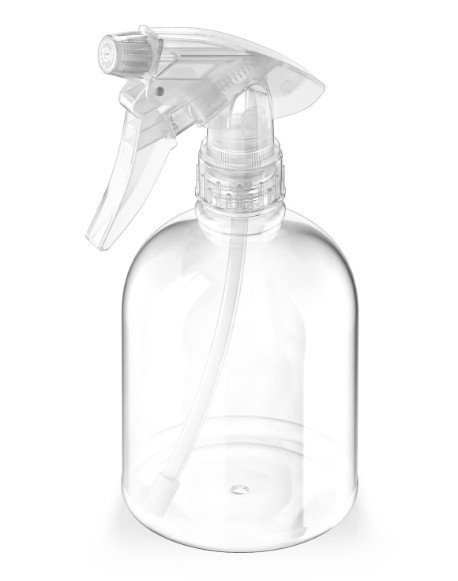
I love wet palette for acrylics as it allows to keep the paints wet for long periods of time. Keep a spray bottle with water by your side and rewet the membrane when it dries.
You could make your own wet palette at home from a container with a tight lid. As a membrane you could use an absorbent paper towel. On top you just put a piece of baking paper.
I would recommend mixing large quantities of paint on your palette with a palette knife. I prefer quite a small knife with pointy end.
Looking after your brushes
Remember to rinse the paint off the brushes when you stop using them during painting session. Do not keep brushes in the jar with water as water could damage the brushes. Acrylic paint dries very quickly and could ruin your brushes’ bristles. After painting session make sure you wash your brushes with soap and water well.
Painting
At this stage I already have an outlines on my canvas. I like to paint the whole surface with Glazing medium to have a very smooth surface, when painting later. Let everything dry for 24h.
Then I would suggest to apply a thin layer of Titanium White over the outlines if they look too dark.
If there are very dark areas on your reference picture, I would suggest to create underpainting with Burnt Umber or Mars Black colour to darken some areas. It would look close to grey scale image.
It is time to mix some paint on your stay wet palette.
First coat: I would paint the background first using a 1/2 inch flat brush. While the background is drying I would paint the main subject.
Second coat: I would come back to background and paint it second time to improve the look of it. Similarly my next step is to paint my subject again. At this stage I have to be more careful and create smooth gradients, where needed.
Third coat: I would work on improving the colour of areas which do not look right. Next I am working on the background and main subject.
Details stage: I would add the very fine details and highlights.
Varnishing
I learnt that you could use Glazing Medium as a separation layer between the painted canvas and varnish. In case you are going to remove the varnish in the future this layer would protect the painting. After you finish painting, wait 1-2 days until the painting is completely dry. Then using a flat brush paint the painting’s surface with glazing medium very quickly. The medium is like a PVA glue consistency and dries quickly. Spread the medium evenly and let it dry. After 24h you could start varnishing.
Do not put too much varnish on your brush. Get rid of excess by gently pulling the brush over the edge of jar with varnish. You just need a thin even layer of varnish. Move your brush from left to right horizontally. Keep the same direction of brush movement. When first varnish layer is dry (after 24h) you could cover painting with second layer moving your brush from top do bottom vertically. Wait at least another 24h before taking painting to the framer.
Frequently Asked Questions
Yes, acrylics are one of the most beginner-friendly mediums. They dry quickly, clean up with soap and water, are non-toxic and very forgiving. Mistakes are easy to paint over once the previous layer is dry, which removes a lot of the pressure that beginners feel with mediums like oils or watercolours.
My honest recommendation is to invest in the best quality paints you can afford. Artist-grade ranges like Cryla by Daler-Rowney, Professional Acrylics by Winsor & Newton, or Artist’s Acrylic by Liquitex contain more pigment, so colours look more vibrant and you need less paint. If your budget is tight for your very first purchase, student-grade ranges like System 3 or Galeria are a reasonable starting point.
You can produce a recognisable, satisfying painting in a single afternoon. Building real confidence and developing your own style takes ongoing practice over months. Most of my students tell me they feel noticeably more confident after just three or four workshops.
Acrylics are opaque and dry to a permanent, water-resistant layer, so you can paint light over dark and layer freely. Watercolours are transparent and the white of the paper provides the lightest tones, which means they work in the opposite way: light to dark, with no painting over mistakes. Most beginners find acrylics more forgiving to start with.
I would recommend investing into a good table easel as my comfort of work is always a priority. My table easels are from Jackson’s Art online shop.
A stay-wet palette keeps your acrylic paints workable for far longer than a standard palette, sometimes for days. Because acrylics dry so quickly, this saves a lot of wasted paint and lets you return to the same mixed colour later. You can buy one or make your own from a container with a tight-fitting lid, an absorbent paper towel and a sheet of baking paper on top. To rewet your palette just use a spray bottle. I simply lift the sheet of baking paper with paints and spray thoroughly the paper towel.
Yes. My acrylic painting workshops in Colchester and Clacton-on-Sea are designed for all skill levels, including complete beginners. I guide you through each technique step by step, and all materials are provided. You can check available dates and book here.
Related Posts
Acrylic Painting for Beginners: Essential Techniques
These 10 easy techniques are the foundation for your acrylic painting.

10 Easy Watercolour Techniques Every Beginner Should Try
Discover 10 simple watercolour techniques every beginner should try. From flat…