Painting process
Pumpkins
Pumpkins were on my list to paint for a long time. I would always look at pumpkins in the shop and imagine how beautiful they would look on the painting.


Photography for the project


As you can see I had quite a few attempts to composition. I had 4 different pumpkins and an hour of beautiful sunlight in the evening during golden hours. I set up a chair in my garden and prepared some clothes as a backdrop. I took at least 80 pictures of 10 different configurations of pumpkins.
Painting process
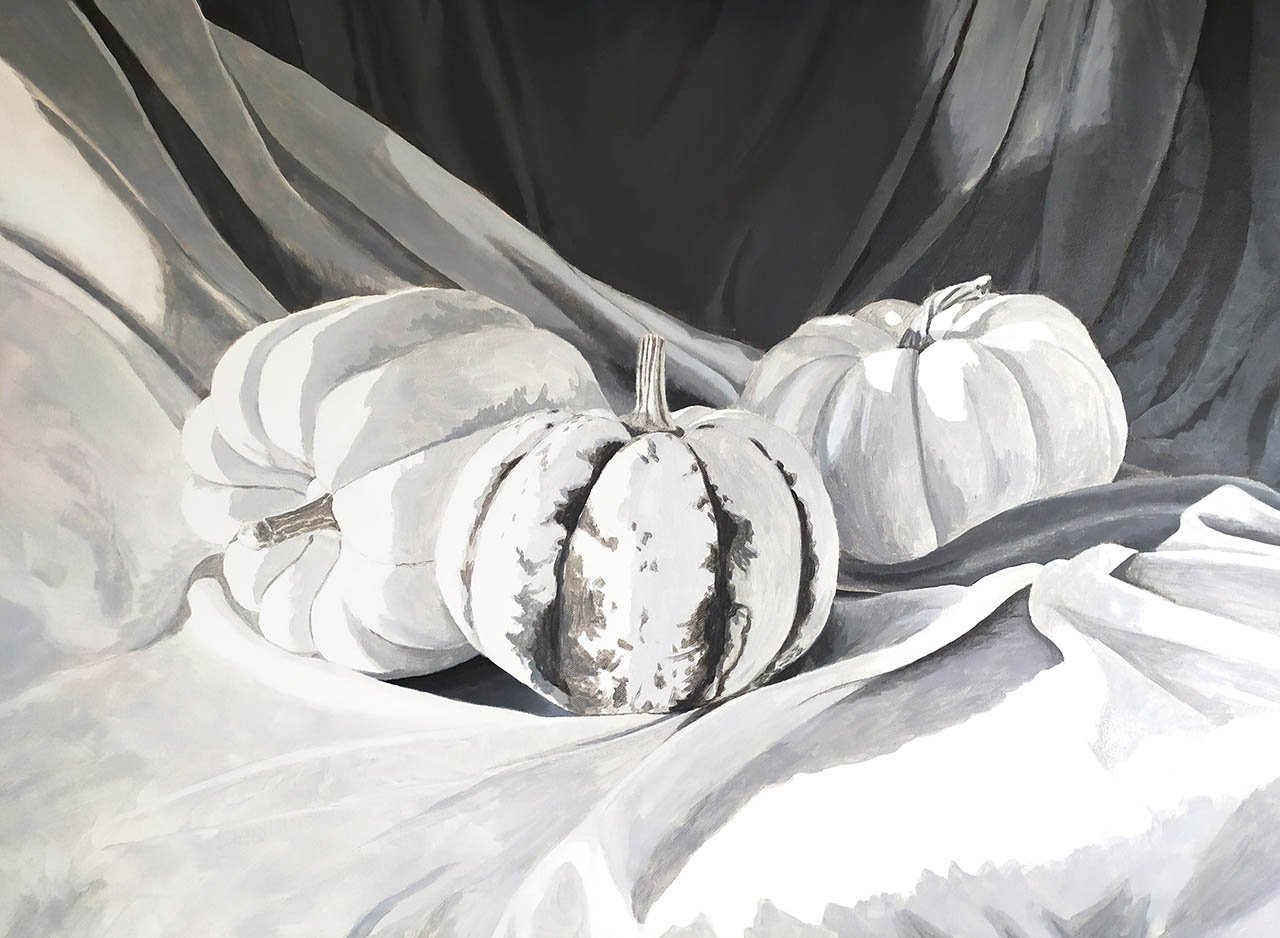
To transfer an enlarged printed photograph to the canvas I am using the graphite paper. Then I paint with transparent glazing medium over the outlines. When it is dry I can work on the grayscale version of the painting – using only shades of grey (Mars Black + Titanium White). After the underpainting is finished I paint over it with glazing medium and let it dry.
Tips:
- It is important to keep in mind that the darker the grey colour, less bright would look the colours painted over it.
- Try to be careful creating transitions and be precise as this grayscale painting is going to be visible through next colour layers.
Now I am working on my first colour layer. It is helpful to premix the colours and have them ready on your palette. I start with a background – the furthest elements from the eye. Then I move to elements closer to my eye in the foreground. The main subject are the pumpkins, so I am painting them last. At this stage I do not add details, just the colours and smooth transitions.
I am working on first colour layer – orange pumpkin gets a lovely shading.
During the first colour layer I decided to add all the green spots while colouring green pumpkin. Then I painted the little stalks coming from pumpkins and covered the whole painting with glazing medium and let it dry.
It was time to work on second colour layer – I worked again on the background first – improving the shading on the cloth. I love to add lots of brush spots to the background – creating a unique texture. Here you can see a distinctive texture on the light cloth.
Next I added more colour variation for yellow pumpkin and all the beautiful orange spots. Green pumpkin required some corrections to yellow colour. I also added more colour adjustments to a light cloth at the foreground – improved the shading. At the end I painted the painting over with a glazing medium and let it dry.

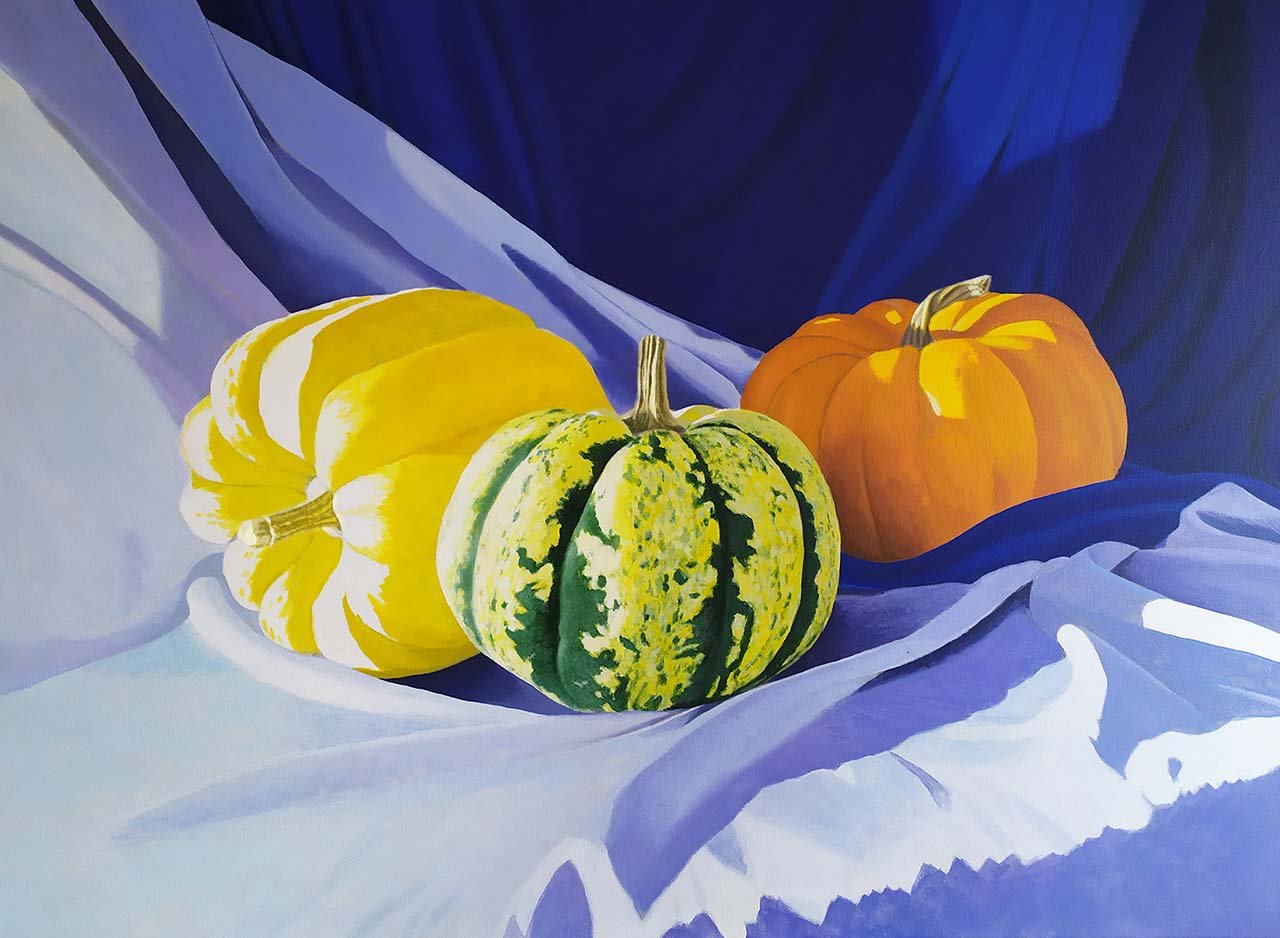
The last colour layer is when I add more details and last corrections to the colour tones. I started with some adjustments for the blue background and created lovely texture with brush spots. Then I worked on the light foreground – improving shading and texture.
Next I added more details to each pumpkin. Orange pumpkin needed more work – I darked the colour in shaded areas. Yellow pumpkin got more details – more spots and darked shaded areas. Also green pumpkin had its spots and shading perfected.
At the end I painted the painting over with a glazing medium and let it dry. Next step would be varnishing with a lovely gloss varnish.
Related Posts
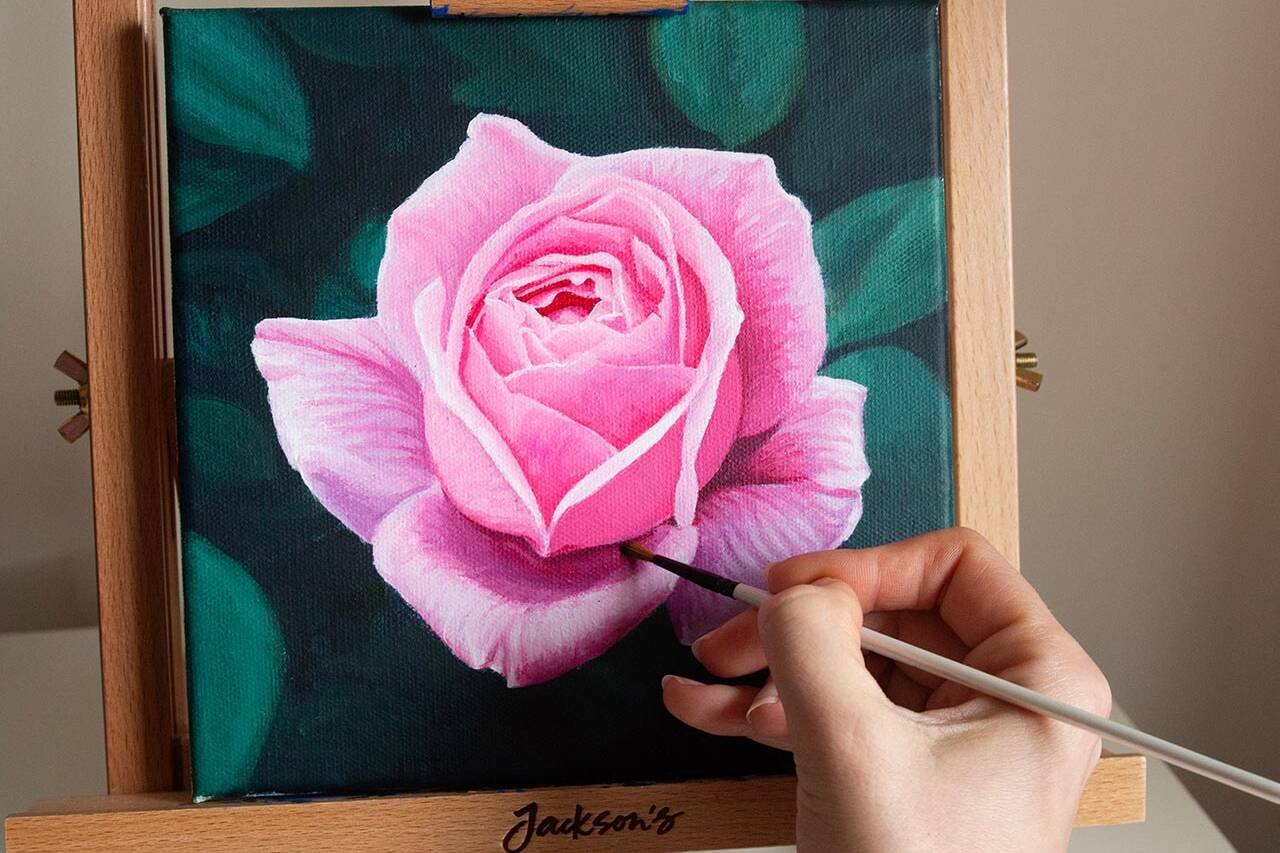
Acrylic Painting for Beginners: Essential Techniques
These 10 easy techniques are the foundation for your acrylic painting.
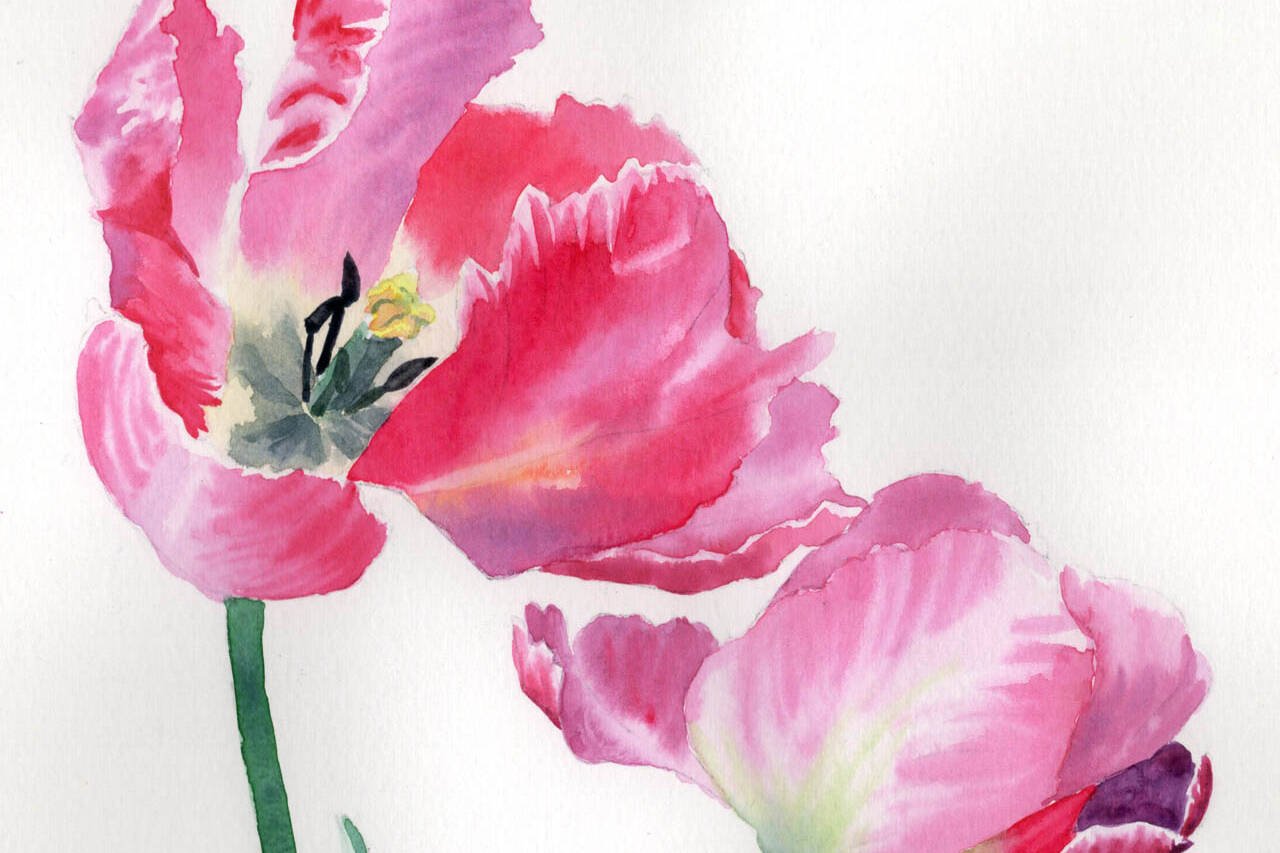
10 Easy Watercolour Techniques Every Beginner Should Try
Discover 10 simple watercolour techniques every beginner should try. From flat…
Acrylic: Materials guide for beginners
A list of basic art materials for beginners in acrylic painting.