Watercolour Painting
10 Easy Watercolour Techniques Every Beginner Should Try
Watercolour painting can feel a little intimidating when you first start out. The paint seems to have a mind of its own, the water does unexpected things, and your first attempt rarely looks like the tutorial you were following. But here is the good news: every watercolour artist started exactly where you are now, and there are a handful of simple techniques that will transform your confidence with this beautiful medium.
I have been teaching watercolour classes in Colchester and Clacton-on-Sea for several years, and these are the ten techniques I always introduce to my beginner students first. Once you have these foundations, you will be amazed at what you can create.
1. Flat Wash
The flat wash is the most fundamental watercolour technique and the first one you should practise. The aim is to create a smooth, even layer of colour across your paper with no streaks or variations in tone.
To create a flat wash, mix a generous amount of paint with water on your palette. Tilt your paper slightly (about 30 degrees) and use a large flat brush to paint horizontal strokes from left to right, overlapping each stroke slightly with the one above. The tilt allows gravity to help the paint flow evenly. Keep loading your brush with the same consistency of paint and work quickly so the edges stay wet.
Top tip: Mix more paint than you think you need. Running out of paint halfway through a wash and having to remix is the most common reason for an uneven result.
2. Graded Wash
A graded wash (sometimes called a gradient wash) transitions from a strong, saturated colour at the top to a lighter tone at the bottom, or vice versa. This technique is incredibly useful for painting skies, water reflections and backgrounds.
Start the same way as a flat wash, but with each new stroke, add a little more clean water to your brush before picking up paint. This gradually dilutes the colour as you work down the page. The key is to keep the transition smooth and avoid going back over areas that have started to dry.
Top tip: You can also create a graded wash that transitions between two colours. Start with one colour and gradually introduce the second as you work down the paper.
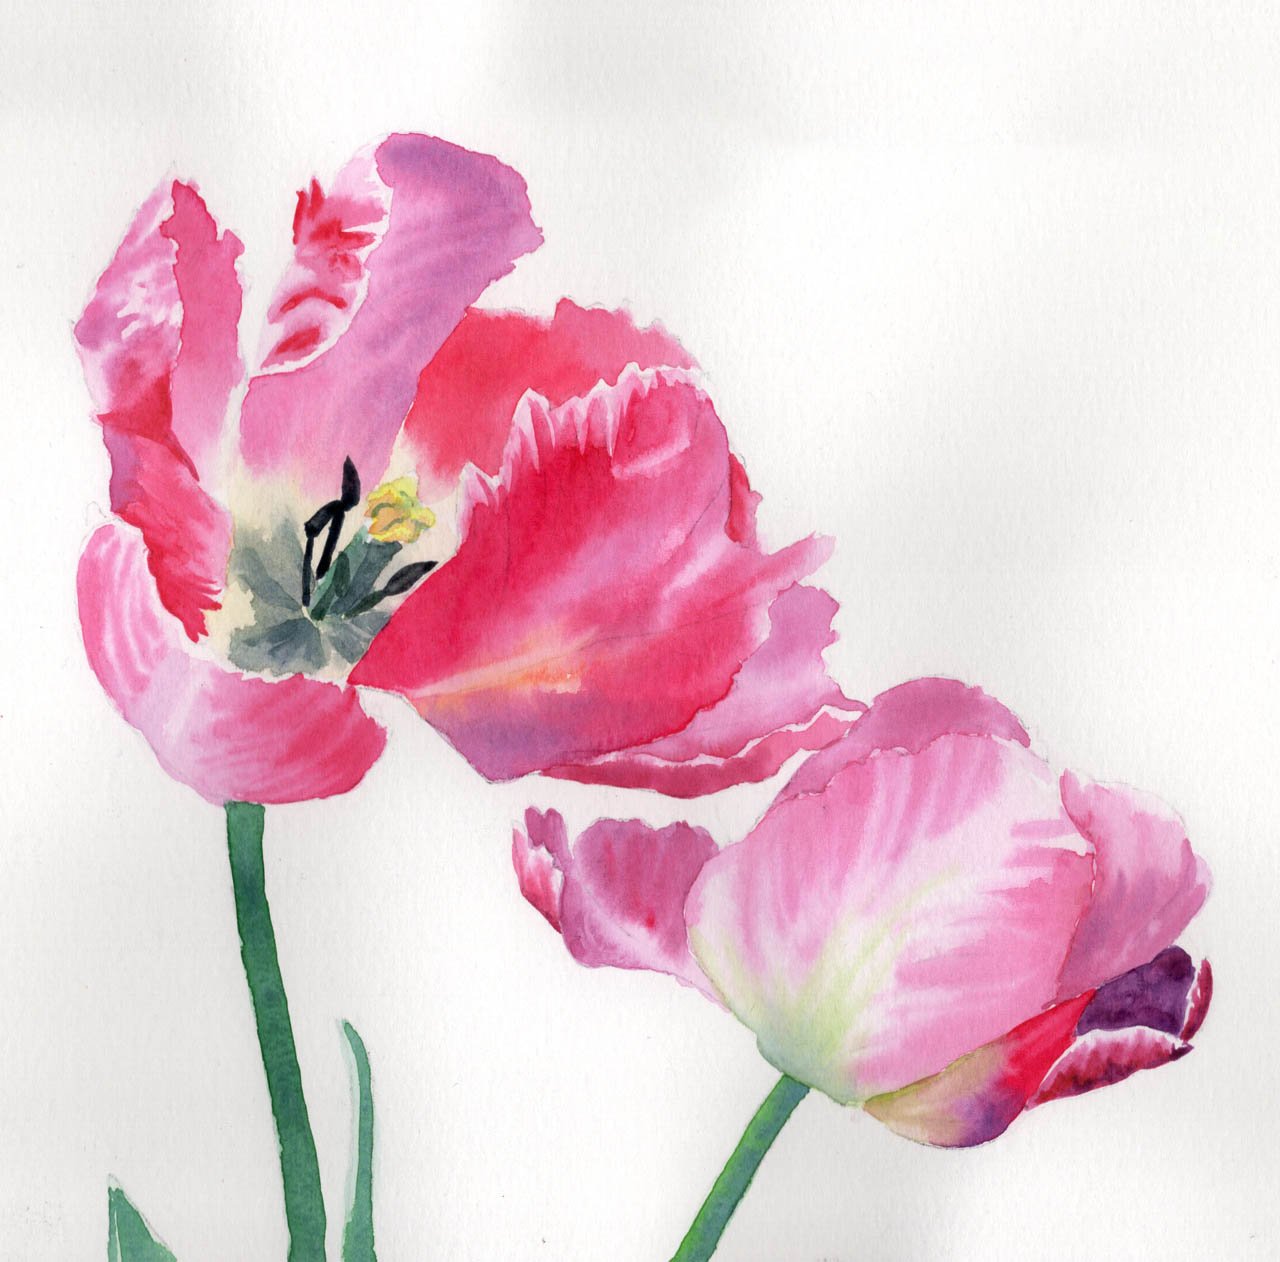
3. Wet-on-Wet
Wet-on-wet is one of the most exciting watercolour techniques because the results are beautifully unpredictable. You apply wet paint onto paper that has already been dampened with clean water, and the pigments spread and blend organically.
First, use a clean brush to apply an even layer of water to your paper. Wait a moment until the surface has a slight sheen but no puddles. Then touch your loaded brush to the wet surface and watch the colour bloom outward. You can add multiple colours and let them blend together naturally.
This technique is perfect for soft backgrounds, misty landscapes, cloudy skies and abstract textures. It is one of the techniques I cover in my watercolour painting workshops, and it is always a favourite because the results feel almost magical.
Top tip: The wetter the paper, the more the paint will spread. For more control, let the paper dry slightly before adding paint. With practice, you will learn to judge the right level of dampness for the effect you want.
4. Wet-on-Dry
Wet-on-dry is the opposite approach: you apply wet paint onto completely dry paper (or onto a dried layer of paint). This gives you much more control and produces crisp, defined edges and fine details.
This is the technique you will use most often for adding details, sharp lines, and precise shapes. It works especially well for painting petals, leaves, feathers and architectural details. Because the paint stays where you put it, you can build up layers of colour with confidence.
Top tip: Make sure the previous layer is truly dry before painting over it. If it is even slightly damp, the colours will bleed into each other (which can be lovely, but not if you wanted a clean edge). A hairdryer on a low setting can speed up drying time.
5. Layering (Glazing)
Layering, also known as glazing, is the technique of building up transparent layers of colour on top of each other. Each layer must be completely dry before the next one is applied. The light passes through the transparent layers and reflects off the white paper beneath, which is what gives watercolour paintings their characteristic luminous glow.
Start with a light wash and let it dry fully. Then add another layer on top to deepen the colour or introduce a new hue. You can build up as many layers as you like, but be careful not to overwork the paper. Three to five layers usually gives a rich result.
Top tip: Use this technique to create depth and shadow in your paintings. Painting a blue wash over a dried yellow layer will produce a more vibrant green than mixing blue and yellow on your palette.
6. Lifting Off
Lifting off is essentially using a damp brush, sponge or tissue to remove paint from the paper. It is a wonderfully useful technique for creating highlights, softening edges, correcting mistakes and adding texture.
While the paint is still wet, you can use a clean, damp brush to lift colour and create lighter areas. You can also lift dried paint by wetting the area with clean water, waiting a moment, and then blotting with a tissue or gently scrubbing with a brush. Some pigments lift more easily than others, so it is worth experimenting.
This technique is particularly useful for painting clouds, light on water, and highlights on flowers.
Top tip: Keep a clean piece of kitchen paper towel next to you at all times. It is your best friend for lifting off excess paint quickly.
7. Dry Brush
The dry brush technique creates a rough, textured effect that is perfect for painting grass, tree bark, stone, fur and other natural textures. Despite the name, your brush is not completely dry. It has paint on it, but very little water.
Load your brush with paint, then dab off most of the moisture on a paper towel. Drag the brush lightly and quickly across dry paper. The paint will catch on the raised texture of the paper and skip over the valleys, creating a broken, grainy effect.
This works best on cold pressed (NOT) watercolour paper because the textured surface catches the paint beautifully. Hot pressed paper is too smooth for a pronounced dry brush effect.
Top tip: Use a flat brush or a fan brush for the most dramatic dry brush effects. This technique works especially well for adding texture in the final stages of a painting.
8. Blooming (Cauliflower Effect)
Blooming happens when you drop water or very diluted paint into a still-wet wash. The water pushes the pigment outward, creating organic, flower-like shapes with hard edges. While many beginners see blooms as mistakes, they can be used intentionally to create beautiful effects.
To create a controlled bloom, paint a wash and let it start to dry (it should be damp but not glistening). Then drop a small amount of clean water or a different colour into the wash. The bloom will spread outward, creating a unique pattern.
This technique is lovely for painting flowers, foliage and abstract backgrounds. In my art classes, I show students how to use blooming as a deliberate creative tool rather than something to fear.
Top tip: The timing is everything. Too wet and the bloom will spread too far. Too dry and nothing will happen. Practise on scrap paper to get a feel for the right moment.
9. Salt Texture
This is a fun and slightly experimental technique. While a wash is still wet, sprinkle coarse salt (table salt works too, but gives a finer effect) onto the surface. The salt absorbs the water and pigment around it, leaving behind a starry, crystalline pattern once dry.
Leave the salt on the paper until the paint is completely dry, then brush it off gently. The result is a beautiful, organic texture that works wonderfully for painting starry skies, sandy beaches, snow, stone walls and abstract backgrounds.
Top tip: The wetter the wash, the larger and more dramatic the salt effect. Experiment with different types of salt (fine, coarse, sea salt flakes) for different textures.
10. Splattering
Splattering adds energy and spontaneity to your watercolour paintings. Load an old toothbrush or a stiff brush with diluted paint, hold it over your paper, and run your finger across the bristles to flick tiny droplets onto the surface. You can also tap a loaded brush against your finger to create larger drops.
This technique is perfect for adding a sense of movement and life to finished paintings. Use it for sand textures, flower garden backgrounds, starry skies, falling snow, or simply to break up a flat area with interesting detail.
Top tip: Cover any areas you want to protect with scrap paper or masking tape before splattering. Once the droplets land, they are very difficult to remove. Start with lighter colours and build up, as you can always add more but you cannot take it away.
Putting It All Together
The beauty of these ten techniques is that they work together. A typical watercolour painting might use a wet-on-wet wash for a soft background, wet-on-dry for crisp details, layering to build depth, dry brush for texture, and lifting off for highlights. As you practise each technique individually, you will naturally begin to combine them.
My advice to every beginner is to dedicate a page in your sketchbook to each technique. Practise it several times, make notes about what worked, and do not worry about creating a finished painting. These exercises are about building muscle memory and understanding how the paint behaves.
If you would like to learn these techniques with hands-on guidance, I teach watercolour workshops in Colchester and Clacton-on-Sea where we cover these foundations and apply them to a complete painting project. All materials are included, and no experience is needed. You can view upcoming class dates and book here.
Frequently Asked Questions
Not at all. Student-grade watercolour paints, a few synthetic brushes and 300gsm watercolour paper are all you need to get started. I have put together a watercolour materials guide for beginners with specific brand recommendations at different price points.
You can learn the basic techniques in a single afternoon, but developing confidence and your own style takes ongoing practice. The most important thing is to enjoy the process and not put pressure on yourself to create a masterpiece straight away.
Yes. My watercolour workshops in Colchester and Clacton-on-Sea are designed for all skill levels, including complete beginners. I guide you through each technique step by step, and all materials are provided. You can check available dates and book here.
Wet-on-wet means applying paint to paper that is already damp, which creates soft, blended effects. Wet-on-dry means applying paint to dry paper, which gives you sharp, defined edges. Most watercolour paintings use both techniques in combination.
Related Posts
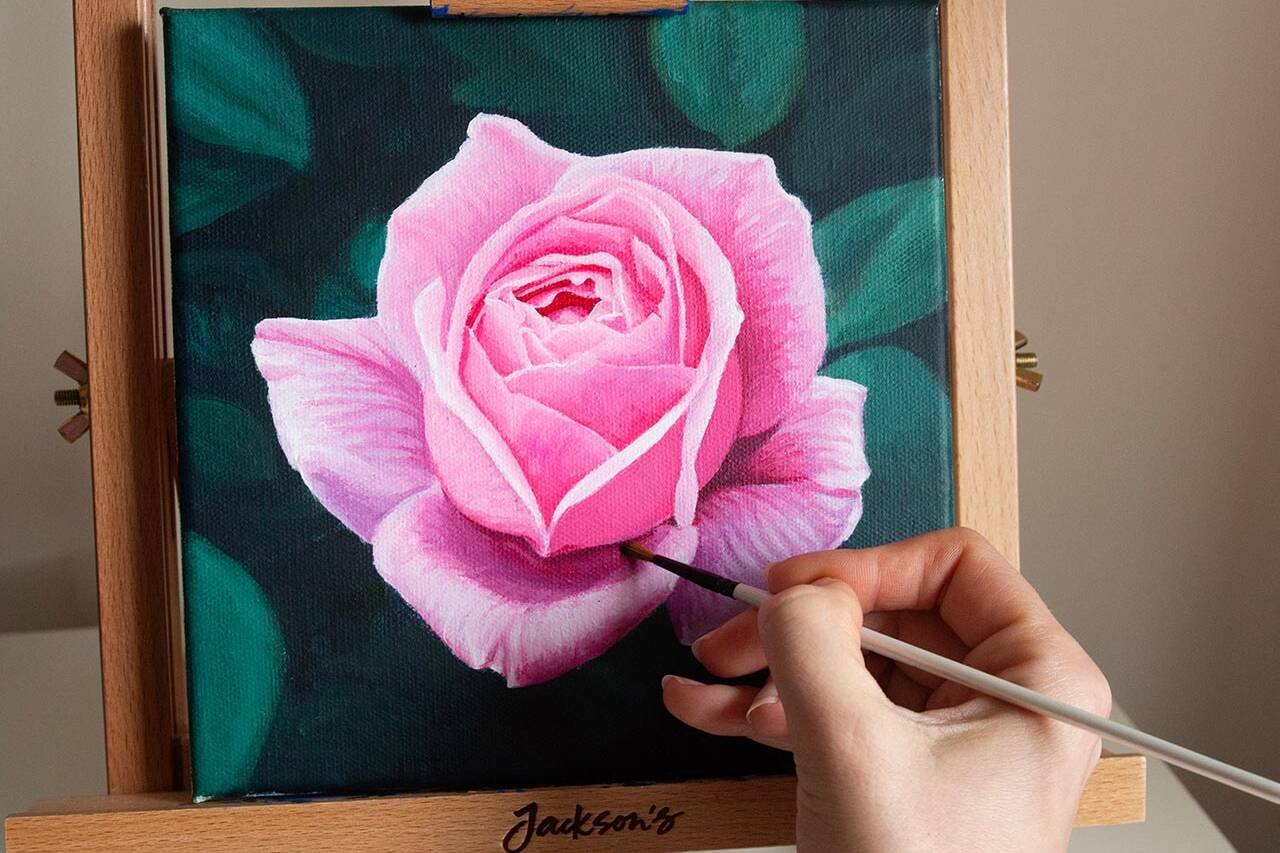
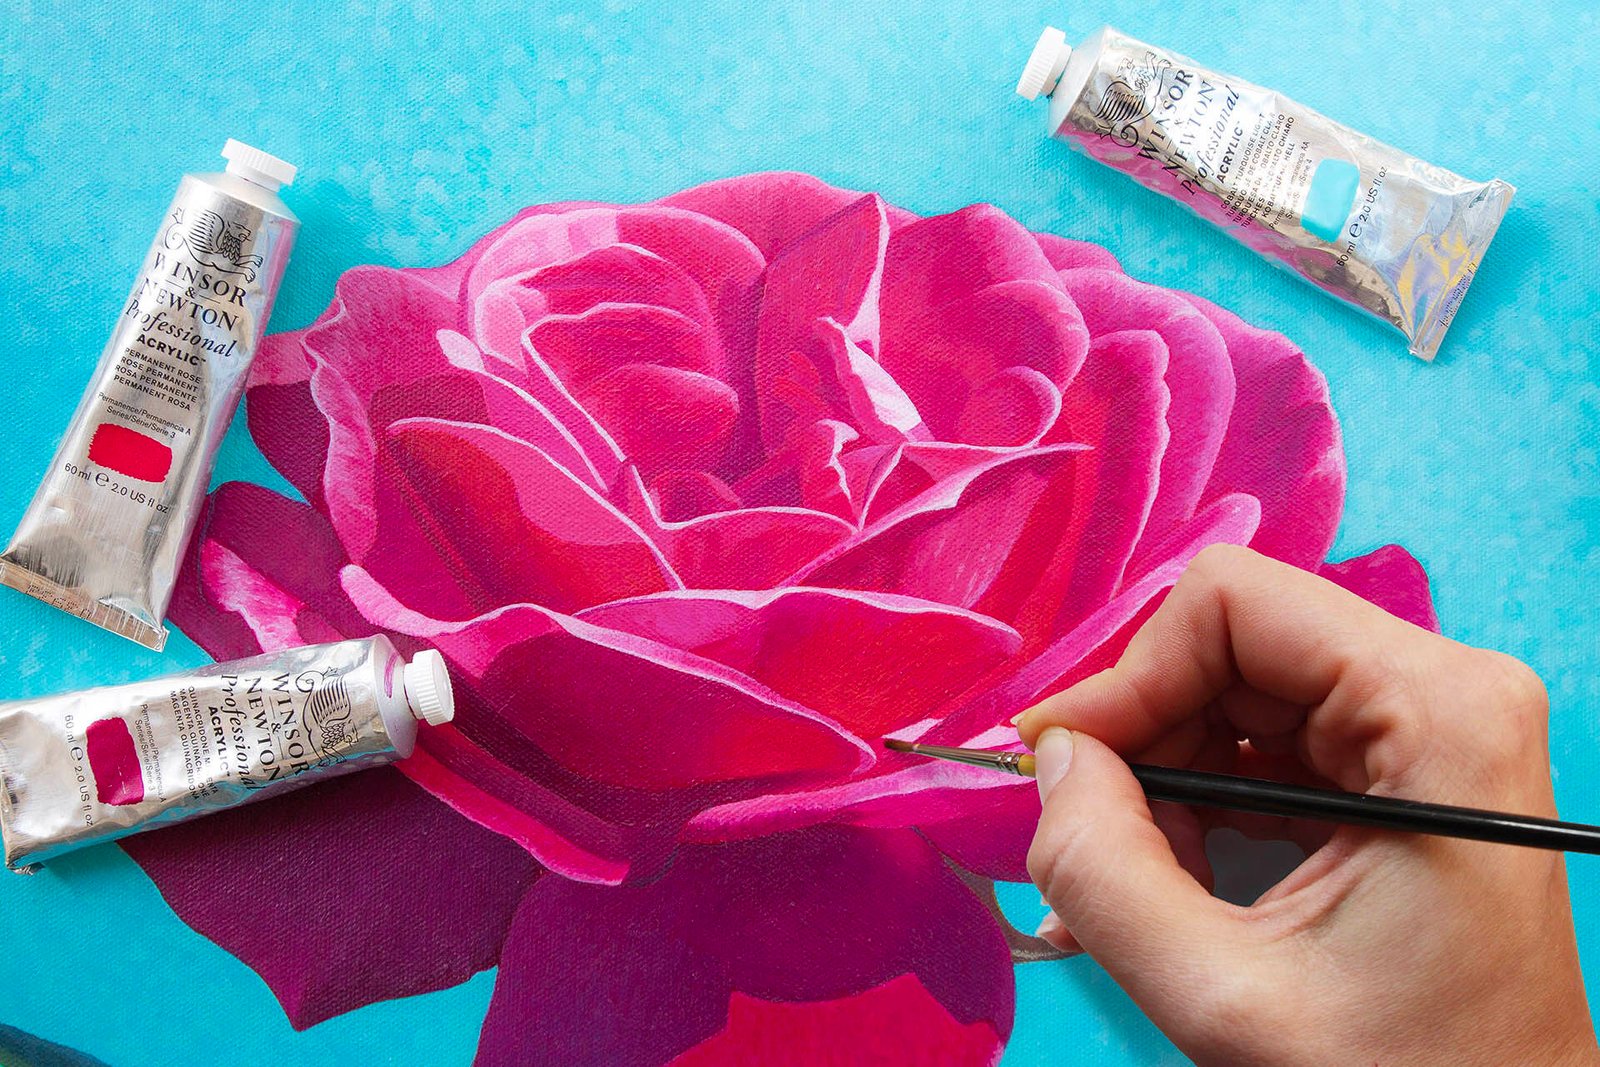
Acrylic Painting for Beginners: Essential Techniques
These 10 easy techniques are the foundation for your acrylic painting.
Acrylic: Materials guide for beginners
A list of basic art materials for beginners in acrylic painting.
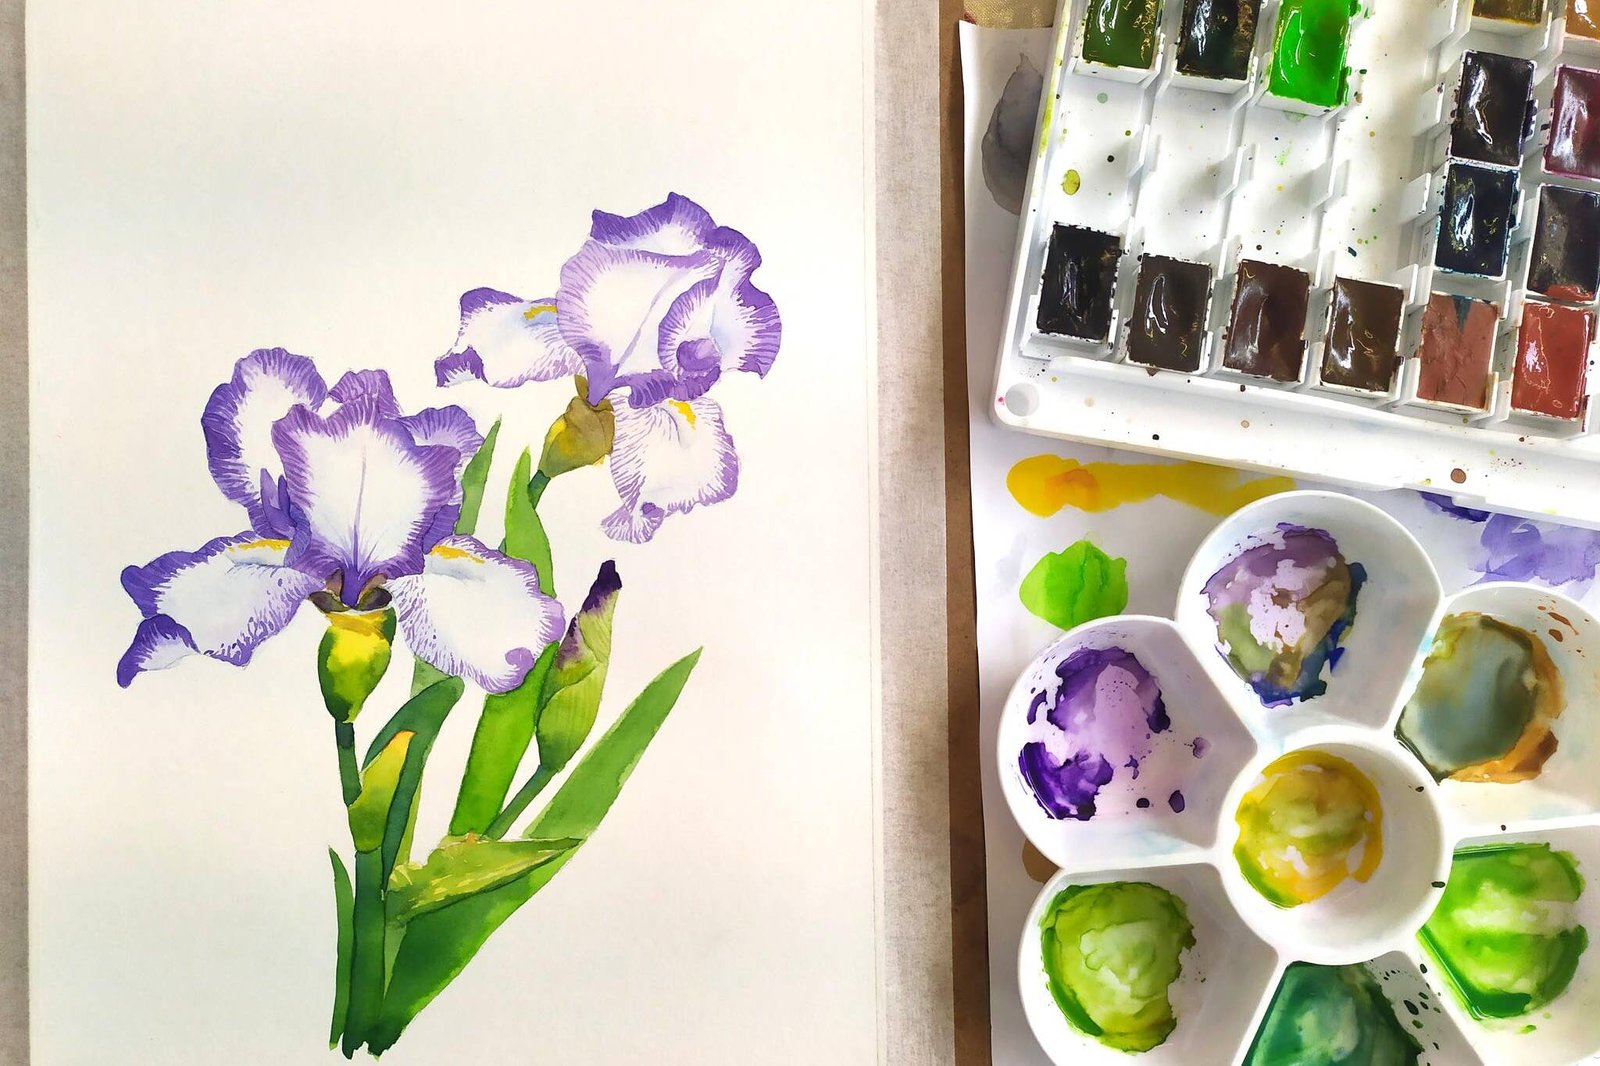
Watercolour: Materials guide for beginners
A list of basic art materials for beginners in watercolour painting.